How To Fix Water Damaged Wood: A Comprehensive Guide
Wood is a timeless and versatile material used in various applications, from furniture to flooring. However, when water damage strikes, it can be a significant concern for homeowners and wood enthusiasts. Whether it’s a result of a roof leak, plumbing mishap, or natural disaster, water can wreak havoc on wood.
But fear not! In this comprehensive guide, we will delve deep into the intricacies of how to fix water damaged wood. From assessing the extent of the damage to executing meticulous repairs, we’ve got you covered.
Assessing the Damage
Before embarking on the restoration journey, it is imperative to assess the extent of the water damage. This critical step will help you determine whether the wood can be salvaged or if it needs to be replaced entirely.
Signs of Water Damage
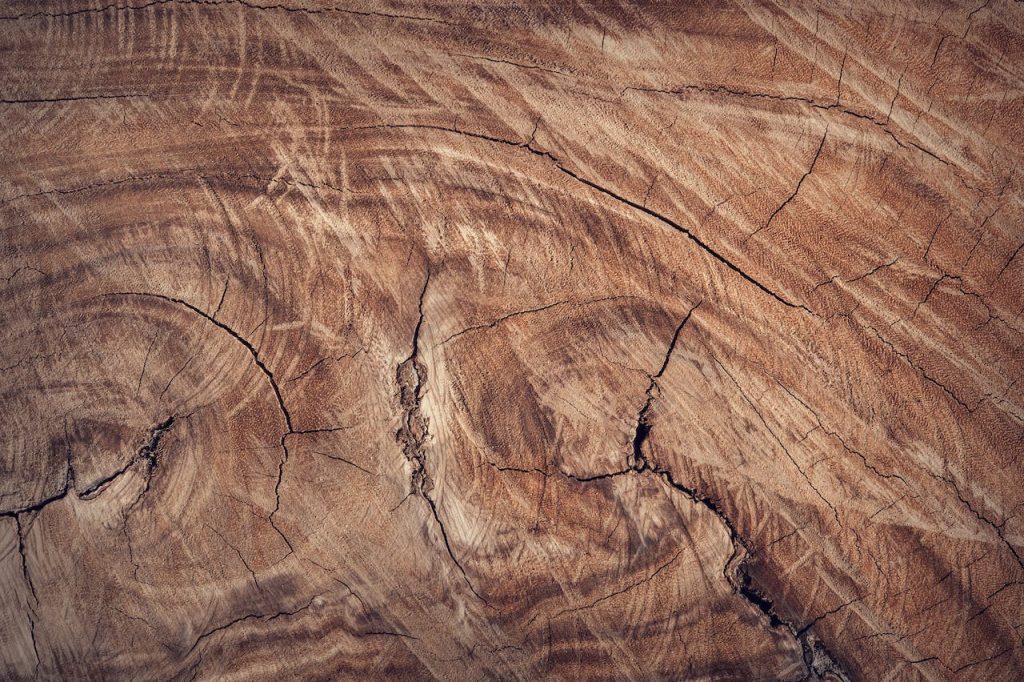
- Discoloration: Water-damaged wood often exhibits dark stains or discoloration, indicating the presence of moisture.
- Softness: Gently press on the wood’s surface; if it feels soft or spongy, it’s a clear sign of water damage.
- Warped or Buckled Wood: Wood that has absorbed water may warp or buckle, distorting its original shape.
- Mold Growth: Excessive moisture can lead to mold growth on the wood, posing health risks.
How to Fix Water Damaged Wood
Once you’ve assessed the damage, it’s time to proceed with the restoration process. The approach you take will depend on the severity of the damage.
Minor Water Damage
For minor water damage, such as small stains or discoloration, follow these steps:
- Dry the Area: Begin by thoroughly drying the affected wood using fans, dehumidifiers, or natural airflow.
- Sand the Surface: Gently sand the discolored area until it’s smooth and free from any blemishes.
- Apply Wood Stain: Match the wood’s original color by applying an appropriate wood stain.
- Seal the Wood: Finish the restoration by sealing the wood with a clear varnish or sealant to protect it from future moisture.
How to Address Moderate Damage in Water-Damaged Wood
When it comes to water-damaged wood, the level of damage often dictates the repair strategy. While minor issues may be addressed with a simple sanding and re-staining, moderate damage often necessitates a more comprehensive approach to ensure longevity and safety. Here is a step-by-step guide on how to handle moderate damage in water-damaged wood:
1. Assess Structural Integrity
Objective: The primary aim of this step is to ensure that the water-damaged wood can still fulfill its structural role effectively.
- Visual Inspection: Begin by visually inspecting the wood for signs of water damage, such as discoloration, swelling, and warping.
- Physical Testing: Follow this by physically testing the wood. Apply a moderate amount of pressure to check if it creaks or gives way, which could indicate compromised structural integrity.
- Expert Consultation: For more complex structures like wooden beams in homes or furniture that bears a lot of weight, consult with a structural engineer to perform a detailed analysis.
2. Remove Damaged Sections
Objective: This step aims to cut out and replace sections of wood that have been severely damaged to maintain the overall stability of the structure.
- Marking: Utilize a carpenter’s pencil to mark the areas that need to be cut out. Make sure you mark a few inches beyond the visible damage to ensure complete removal of compromised material.
- Cutting: Use a handsaw or a power saw to carefully cut along the marked lines. Ensure you follow all safety guidelines while doing so.
- Replacement: Source new wood that matches the type, density, and grain of the original. Cut it to fit the dimensions of the removed section.
- Installation: Attach the new wood using screws or nails, ensuring it sits flush with the existing pieces. Wood glue can also be used for additional support.
3. Dry and Sand
Objective: The goal here is to prepare the wood for the final finishing steps by drying it thoroughly and sanding it for an even surface.
- Drying: Use industrial fans, dehumidifiers, or natural ventilation to thoroughly dry the area. Depending on the level of moisture, this can take from several hours to a few days.
- Sanding: After confirming the wood is completely dry, use coarse-grit sandpaper to remove any old finish and water stains. Gradually move to finer grits for a smooth finish.
4. Stain and Seal
Objective: This final step aims to restore the visual appeal of the wood while protecting it from future water damage.
- Staining: Choose a wood stain that matches the original color or desired finish. Apply using a brush or cloth, following the wood grain for a natural look.
- Sealing: Once the stain has dried, apply a water-resistant wood sealant to protect against future moisture. This not only adds an extra layer of protection but also enhances the wood’s appearance.
By following these detailed steps, you can effectively address moderate damage in water-damaged wood, ensuring that the repaired area is both structurally sound and aesthetically pleasing.
Severe Water Damage
In cases of severe water damage, it’s advisable to consult a professional for expert guidance. Professionals can assess the situation and recommend the most appropriate course of action, which may involve replacing the water-damaged wood entirely to ensure safety and structural integrity.
FAQs
Q: Can I use a hairdryer to speed up the drying process?
A: While a hairdryer can be used, exercise caution and maintain a safe distance to prevent overheating or further damage to the wood.
Q: How can I prevent future water damage to my wood?
A: Regular inspections and maintenance of areas prone to water exposure, such as roofs and plumbing, are crucial to prevent leaks and water damage.
Q: Is it safe to use bleach to remove mold from water-damaged wood?
A: Yes, a mixture of bleach and water can effectively remove mold, but it’s essential to wear protective gear and ensure proper ventilation during the process.
Q: Can swollen wood due to water damage be repaired?
A: In some cases, yes. Swollen wood can be sanded and reshaped, but severe swelling may necessitate replacement.
Q: How long does it take for wood to dry completely after water damage?
A: The drying time varies depending on factors such as wood type and humidity levels, ranging from several days to a few weeks.
Q: What steps should I take if my wood floors are water damaged?
A: For water-damaged wood floors, prompt water removal, thorough drying, and potential refinishing are essential steps to ensure their longevity.
Conclusion
Restoring water-damaged wood is a manageable task when armed with the right knowledge and techniques. Remember to assess the damage carefully and choose the appropriate restoration method based on the severity. Table Palace provides valuable advice and step-by-step guidelines on enhancing your table’s aesthetics and ensuring its long-term upkeep. Whether you’re dealing with minor stains or significant structural issues, taking prompt action can save your cherished wooden items and surfaces and preserve their beauty for years to come.